When you want to spruce up your home, change can be a good thing. Sometimes rearranging the furniture does not quite satisfy, and new appliances can get really pricey. The idea of a do it yourself project crosses your mind…
Painting your home’s interior can be of the most fulfilling, lasting improvements you can make in your home. Of course, redesigning anything in your home can become a tedious job, especially if you do it yourself! But what happens when DIY projects go wrong?
No one wants to live in a house with a bad paint job.
Your home should be welcoming, comforting and fulfilling to live in. When it comes to DIY projects, you quickly realize that some things really do require a pro. No matter how easy it may seem early on, it is fairly easy to slip up along the way.
But, if you’ve decided that you want to rise to the challenge of painting your own house, let us be your guide to a beautiful home.
Here are a few things you can do to avoid the seven blunders of house painting, and earn your wings as a DIY painting master!
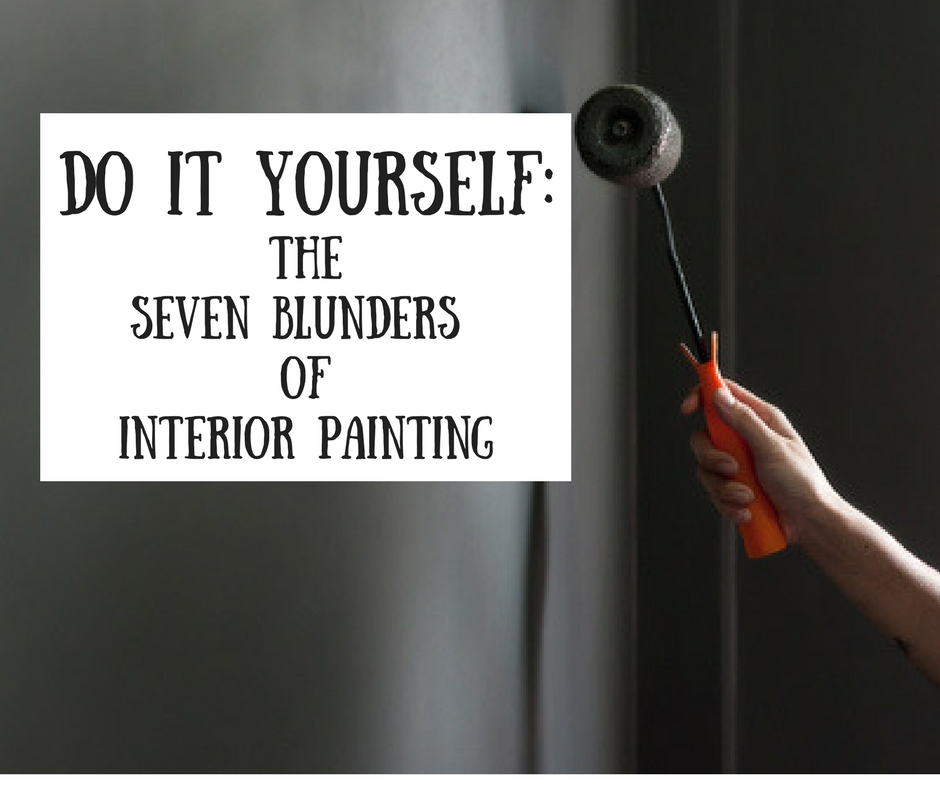
The Seven Blunders of Painting
Consider these points a checklist for your upcoming DIY project. The fate of your home’s walls depend on it.
1.Forgetting to Prep
 How do you tell the difference between a professional painter, and a first time do-it-yourself-er? A pro always takes the time to prepare the surfaces.
Pay attention to those who do commercial painting. You will notice that they spend time cleaning the walls, putting tape around the edges, and applying primer. Pros also cover the surrounding furniture and use drop cloths to protect the floor. You might even notice that doorknobs are wrapped and switch plate covers are removed.
Wash and clean your walls long before you pick up the paintbrush. Use old newspapers, painter’s tape and plastic to cover everything you wish to protect. Look for cracks, holes and chipped paint, and fill them before starting. If you do make any repairs, make sure you sand down the surface before applying primer or paint.
Invest the time in prepping. A great final result requires a strong foundation.
2. Selecting a Color for the Wrong Reasons
When you go to the store to purchase paint, never buy it based on how it appears in the store. The color will almost certainly look very different under bright, florescent light. Do not expect it to have the same appearance in the sun or under standard home lighting. In fact, Apartment Therapy recommends these 10 tips for choosing colors for your kitchen and bathroom in this post.
The same goes for that color you saw in a magazine. Any color paint will look much different under professional lighting compared to how it will look in your dining room.
Do not rush when making your color choices, either. The best way to avoid picking a color you will inevitably hate? Choose multiple shades, and bring home samples of each of them. Try them each on one of the walls you are planning to paint. Compare each one under your home’s natural lighting. Yes, this may mean more time until your walls have a shiny new look. Be patient. The waiting will pay off soon enough.
3. Using cheap tools
Getting the right kind of tools for a DIY project can make or break the end result. Though cheap brushes, rollers and paint sprayers may tempt you, never compromise on the quality of the tool. Good brushes have top-notch bristles which allows you to paint faster, with a professional-looking end result. When it comes to rollers, look for one with a strong, thick foam. A cheap sprayer will fail at spreading paint evenly. Some will even burn out midway, leaving you without a tool to get the job done.
Use painter’s tape wherever required. Never use masking tape in its place. If you want a professional quality paint job, use professional quality tools.
4. Using the wrong paint for the job
 There are numerous types of paint on the market. Knowing what types are appropriate for the job can make or break your project. In high traffic areas, such as the hallways or entryway, use satin finish. Accent walls work best in matte finish.
Knowing which paints work best with specific tools will help prevent major blunders as well. FYI, not all paint works inside a sprayer!
Always seek the opinion of a professional. You can often find experts on paints in the store that you purchase from. Let them save you from the mistakes you did not even know you could make, like using pressure washing services inside, rather than outside.
5. Painting in poor light
Light makes a lot of difference, and if you paint a room in dim light, your final result may be deceiving. You can see greater details in bright light, meaning that the work you assumed looked perfect, might actually be pretty sloppy! Open the windows and let the light in while painting. Avoid painting after the sun goes down and under harsh florescent lights.
6. Painting over a glossy wall
 If you’ve ever had a manicure, you will probably know why doing this can be a problem. There is a reason the nail artist removes the old coats of polish. Painting over an already glossy surface could end in an uneven finish, chipping, cracking, or discoloration. Paint requires a slightly gritty surface in order to stick. Glossy walls lack the right texture to hold on to the paint properly.
To avoid this scenario, prepare the wall properly. Sand the painted walls down gently, creating the necessary grit to hold the paint. Then, wipe down the wall with a wet cloth to remove dust and debris. Once the wall is dry, start painting.
7. Forgetting to use primer
Buying a 2-in-1 paint and primer sounds like a great way to save time and money, right? Wrong. Many first-time painters are unaware that this product only works with smooth, clean walls. In the case of a rough or textured wall, use a separate primer.
On a textured wall, the substance creating the texture, such as drywall, has absorbent properties that can act as a sponge to a fresh coat of paint, leaving the wall blotchy and uneven.
If your home makeover plans include a glossy wall, pick up some primer. A bonding primer will stick straight to the surface, providing a good, clean backing for the shiny new color.
Avoid these all-too-common painting errors, and tackle your first do it yourself home painting project like a pro!
As with most home improvement projects, practice makes perfect. Relish in the experience of taking the fate of your home’s look into your own hands.
Before things go wrong, however, it is always smart to consult a painting contractor before picking up that paint roller. Before things go wrong, call The Paint Manager for all of your residential painting needs.